


In the Box
Included with each order:
- One black jig body
- Two orange sliders
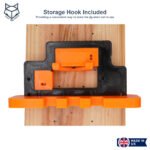
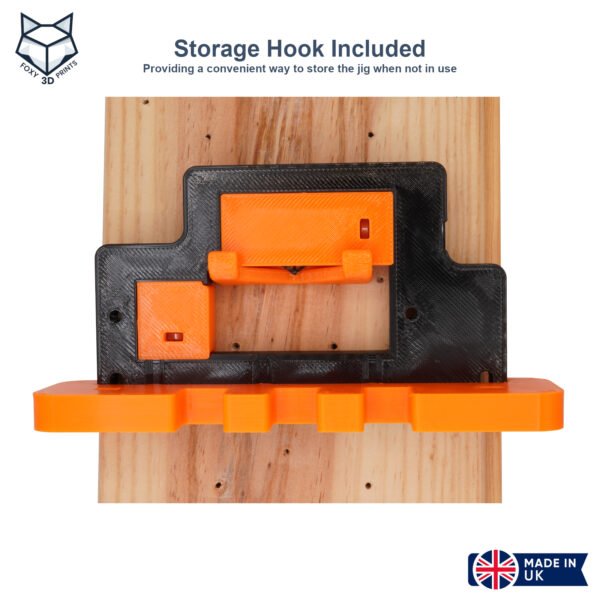
- One orange storage hook
- One orange fence
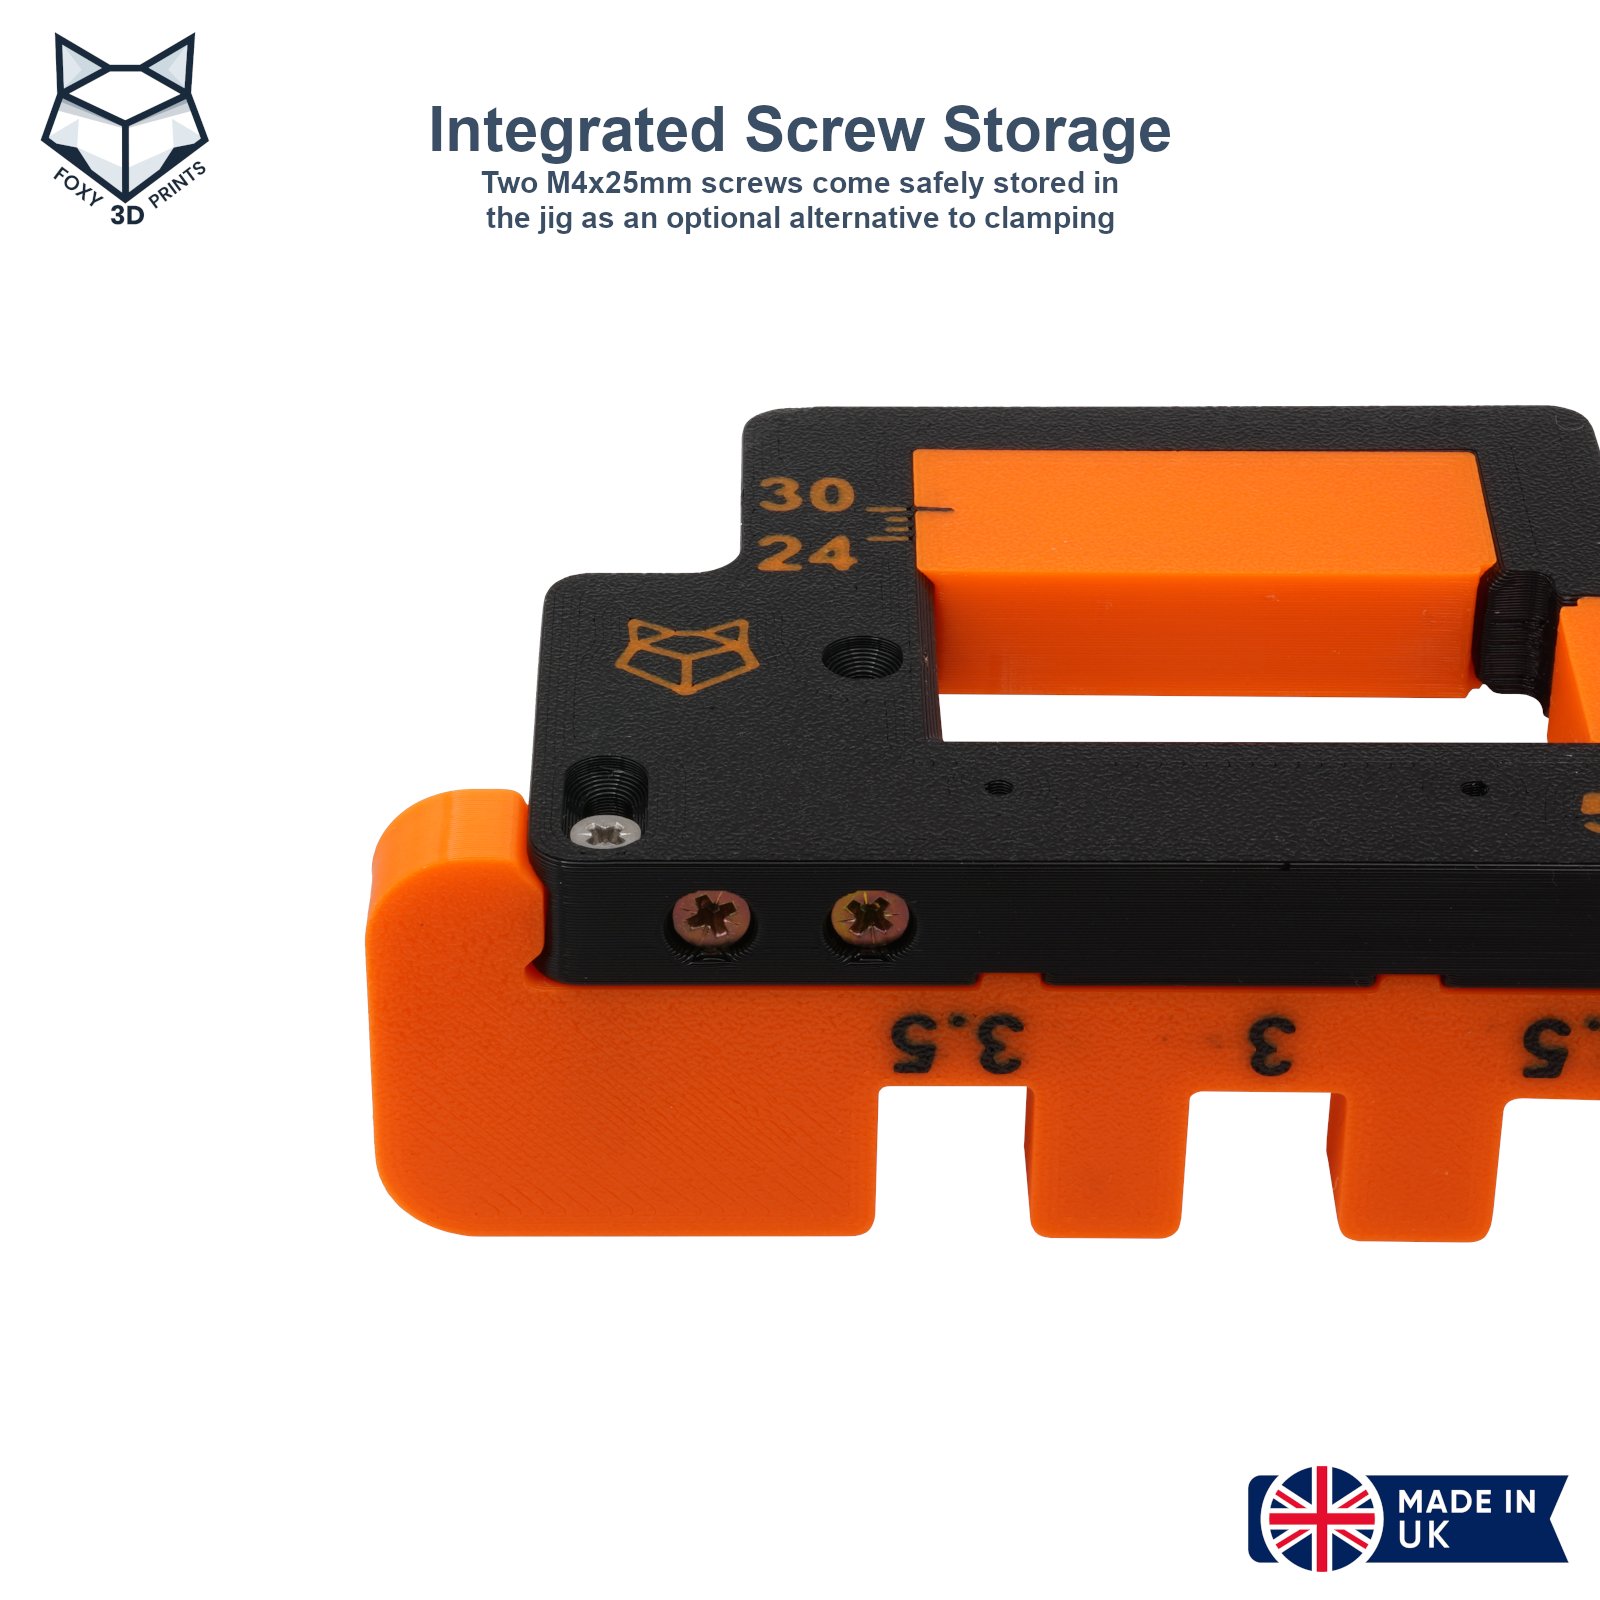
- Two M4x25mm screws stored safely inside the jig for use as a clamping alternative
- Two M3.5x15mm screws for the hook
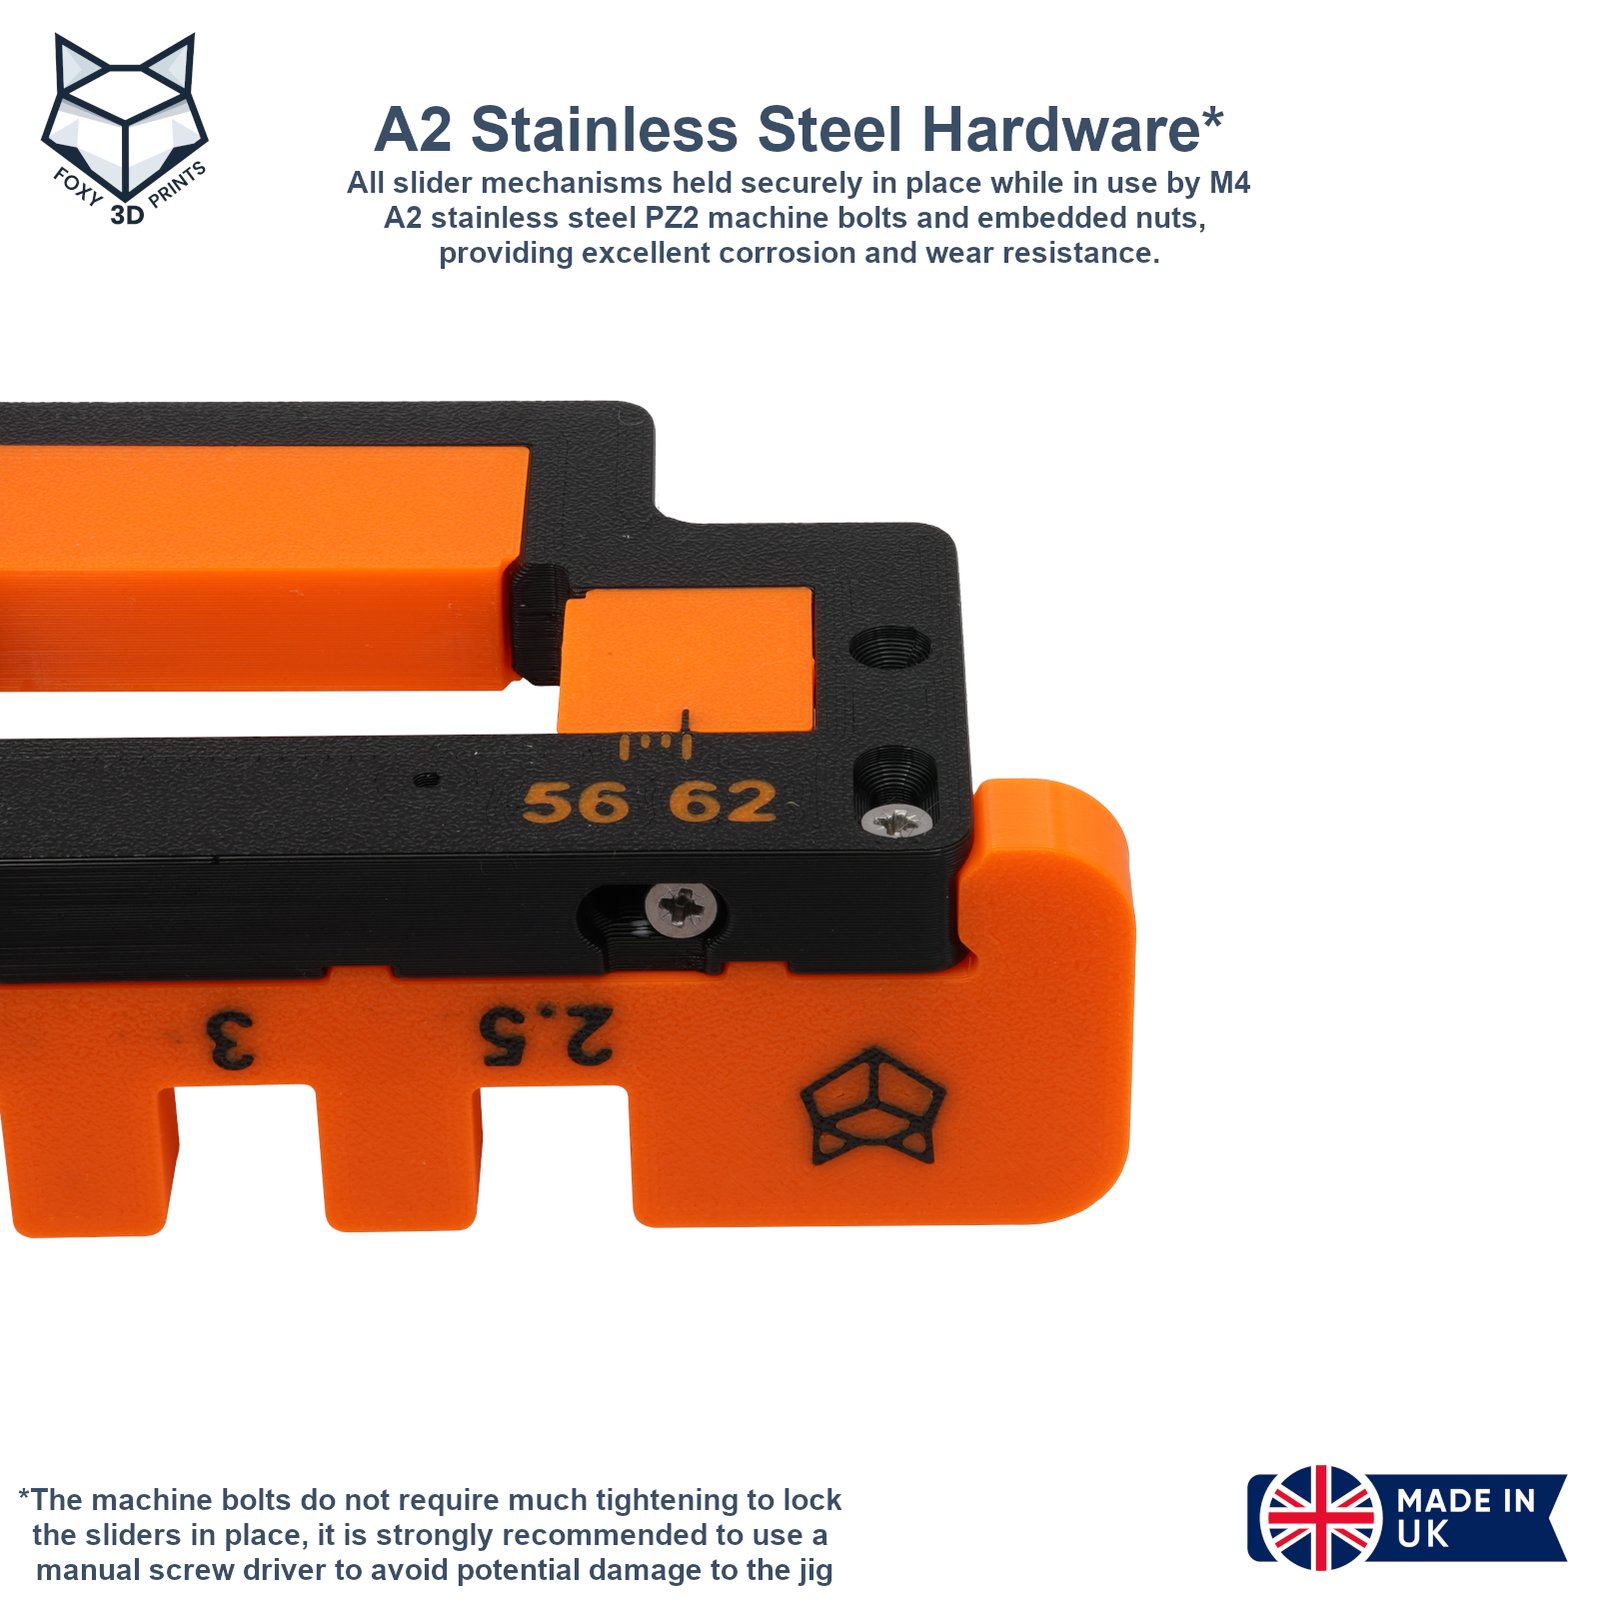
- A2 stainless steel machine bolts to secure sliders in place
Options
Size
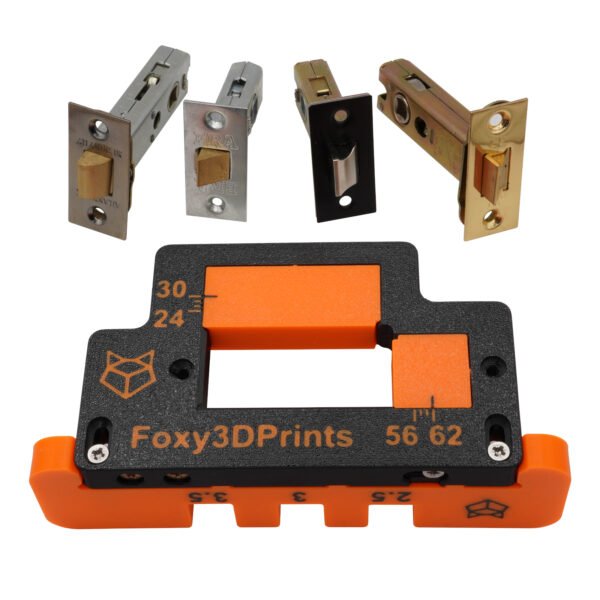
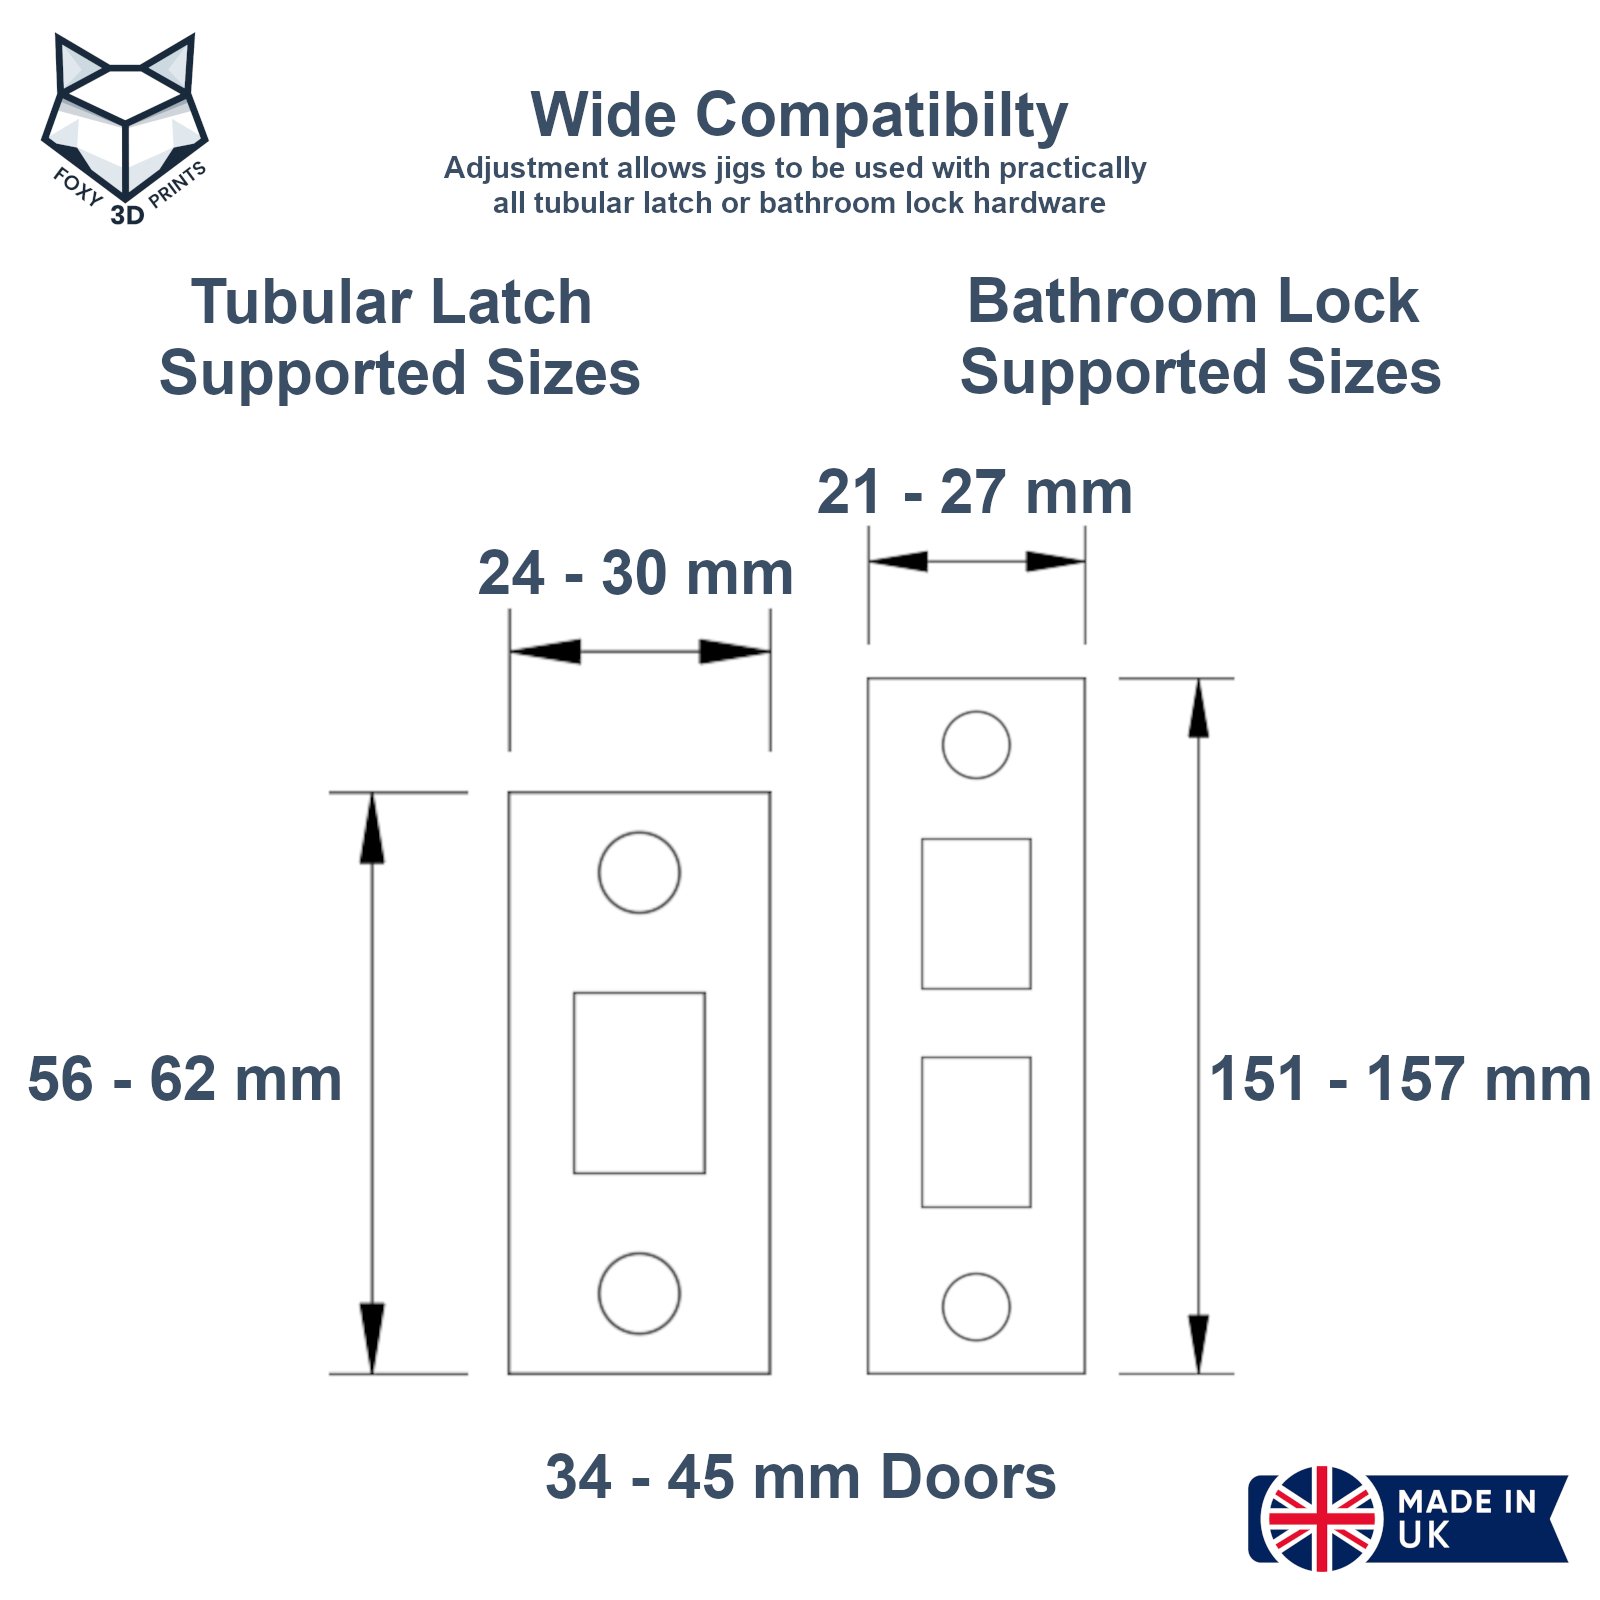
- Tubular Latch Jig – 56 – 62 mm length x 24 – 30 mm width, 34 – 45 mm door thicknesses, 55mm storage hook
- Bathroom Lock Jig – 151 – 157 mm length x 21 – 27 mm width, 34 – 45 mm door thicknesses, 150mm storage hook
Jig Usage
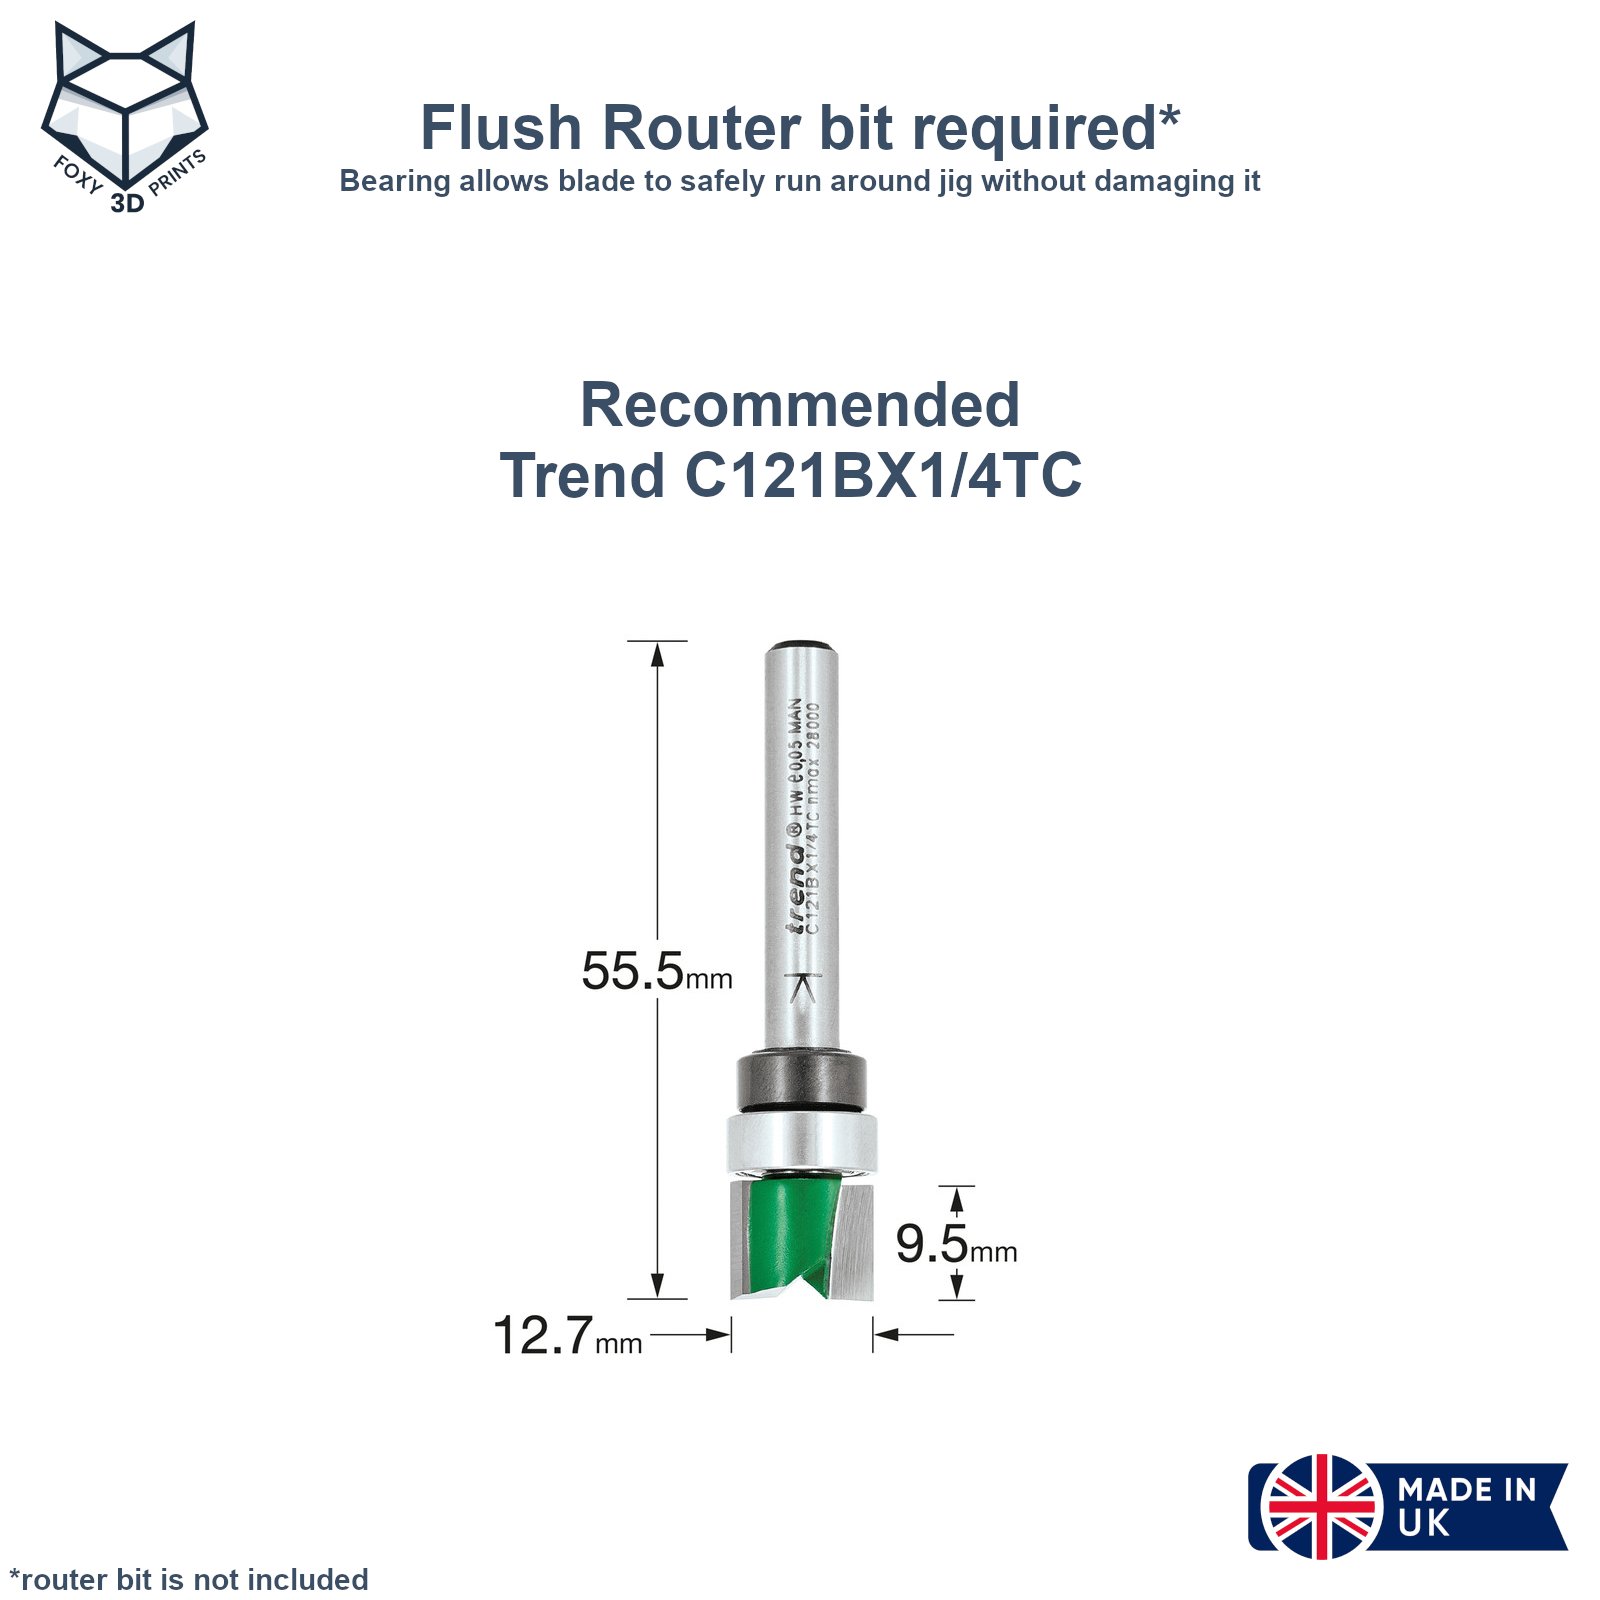
Designed to be used with a guided template profiler router bit. This sort of bit has a bearing that allows the blade to run around the guide without cutting it. I recommend the Trend 1/4″ 12.7mm x 9.5mm C121BX1/4TC (Toolstation code 41051). The router bit is not included.
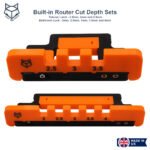
To quickly set the router depth using the integrated cut-out:
- Check the your latch plate thickness in mm, select the closest depth set cut-out as detailed on the jig
- This will be the recess depth, do not proceed with these steps if none available closely match
- Turn the jig upside down with the fence facing upwards
- Place your cutter over the selected cut-out for your latch
- Push the cutter as far as it will go into the cut-out then secure the blade at this depth
- You have now set your cutter depth and are ready to recess your latch face plate
To set the latch recess size:
- MANUAL SCREWDRIVER STRONGLY RECOMMENDED FOR FOLLOWING STEPS
- Loosen the bolts on both sliders
- Move the sliders to the correct location for your latch (you can insert your face plate into the jig as a guide)
- Tighten the bolts back up to fix both sliders in place.
- The fence is easily adjusted once the position of the face plate is marked on the door
Once the depth and recess size has been set, adjust and fix the fence, then secure the jig on your door in the correct location. Position the router carefully within the jig before switching it on. Once the cut has been made, ensure the router has fully stopped before removing it from the jig. These steps will help prevent accidental damage to the jig.
I recommend you trial the above steps on a spare piece of wood first to make sure you have setup the jig correctly for your face plate before making any cuts on the door.
Note
Exact colour may vary subject to filament availability. Some small visual imperfections is normal for additive manufacturing, strength and function is not effected.


Reviews
There are no reviews yet.